
How to Build DIY Patio Pavers in a Weekend: A Beginner’s Guide to Backyard Upgrades
Table of Contents
According to the American Institute of Architects, outdoor living spaces have become one of the top-requested home upgrades in recent years. With good reason—patios expand your living space, increase home value, and create the perfect setting for relaxation or entertaining. But what if you could install your very own DIY patio pavers in just a weekend?
The good news? You absolutely can.
Whether you’re dealing with a neglected backyard or dreaming of sipping coffee on your new paver lounge, this project offers a high impact with surprisingly low cost. No contractor needed—just a solid plan, basic tools, and some grit.
In this blog post, we’ll walk you through everything you need to know about building DIY patio pavers in a weekend. From choosing the right materials and prepping the ground to leveling, laying, and styling, you’ll get a step-by-step breakdown plus pro tips for success. Two sections are expanded with detailed walkthroughs and planning guides so you can confidently tackle this project start to finish.
Let’s turn your patchy lawn into the patio of your dreams—one paver at a time.
Plan Your Patio Layout with Purpose
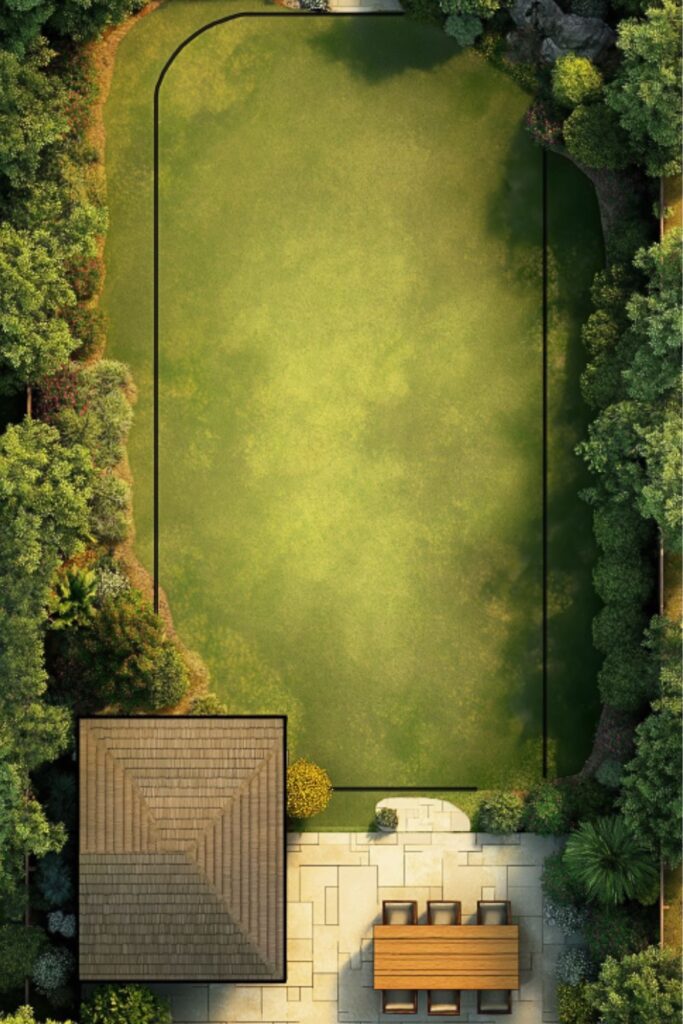
Before picking up a shovel, spend some time designing your layout. The shape, size, and pattern will influence how your patio looks and functions.
Define the Space
Decide how you’ll use the patio. Is it for dining, lounging, or a fire pit zone? Use string, stakes, or spray paint to outline the area.
Choose the Shape
- Rectangular or square patios are easiest to build and suit modern or traditional homes.
- Curved patios offer a softer, organic look and work well in garden settings.
- Multi-zone patios can separate seating and cooking areas but require more planning.
Pick a Pattern
Simple grid patterns like running bond are perfect for beginners. Herringbone or circular patterns look high-end but are more complex.
Patio Layout Table
| Layout Feature | Options | Best For |
|---|---|---|
| Shape | Square, curved, multi | Functionality and aesthetic goals |
| Pattern | Running bond, basketweave, herringbone | Visual interest, ease of installation |
| Size | Small (6×6) to Large (20×20+) | Depends on space and use case |
Choose the Right Pavers and Materials

Material choice affects cost, durability, and design. For weekend DIYers, go with products that are easy to handle and install.
Paver Types
- Concrete pavers are most common—affordable, uniform, and widely available.
- Natural stone like slate or travertine looks luxurious but may require cutting.
- Clay bricks offer charm and great drainage but cost more.
Essential Base Materials
- Crushed gravel for foundational drainage.
- Sand (paver base and polymeric sand) to level and lock pavers.
Color and Finish
Stick to a neutral or warm tone that complements your home’s exterior. Tumbled or textured pavers look natural and resist slipping.
Paver Selection Table
| Material Type | Pros | Considerations |
|---|---|---|
| Concrete | Easy to lay, budget-friendly | Limited texture, basic finish |
| Natural Stone | Elegant, unique patterns | Heavy, may require sealing or cutting |
| Clay Brick | Timeless, porous | More expensive, limited in sizes |
Prepare and Level the Ground Properly
A stable base is the secret to a long-lasting patio. Skimp on prep, and you’ll see sunken pavers and weeds in no time.
Mark and Excavate
Use string and stakes to mark your patio. Dig about 6–8 inches deep, removing sod and loose soil. Check that the ground slopes away from your home (about 1/8″ per foot) for water drainage.
Add Gravel Base
Pour 4 inches of crushed gravel, tamping it down with a plate compactor or hand tamper every 2 inches. Compacting prevents future sinking.
Layer Sand
Add 1 inch of paver base sand. Screed it level using a long board and pipes to create a smooth, even surface.
Check the Grade
Use a level and string lines across the patio to check for evenness and drainage slope. Adjust with sand as needed.
Ground Prep Checklist
| Step | Tools Needed | Pro Tip |
|---|---|---|
| Mark the Area | Stakes, string, spray paint | Test layout with lawn furniture first |
| Excavate Soil | Shovel, wheelbarrow | Rent a sod cutter for large areas |
| Lay Gravel Base | Gravel, tamper, rake | Compact in layers, not all at once |
| Screed Sand | Screed board, 1″ pipe guides | Sand should be dry and level |
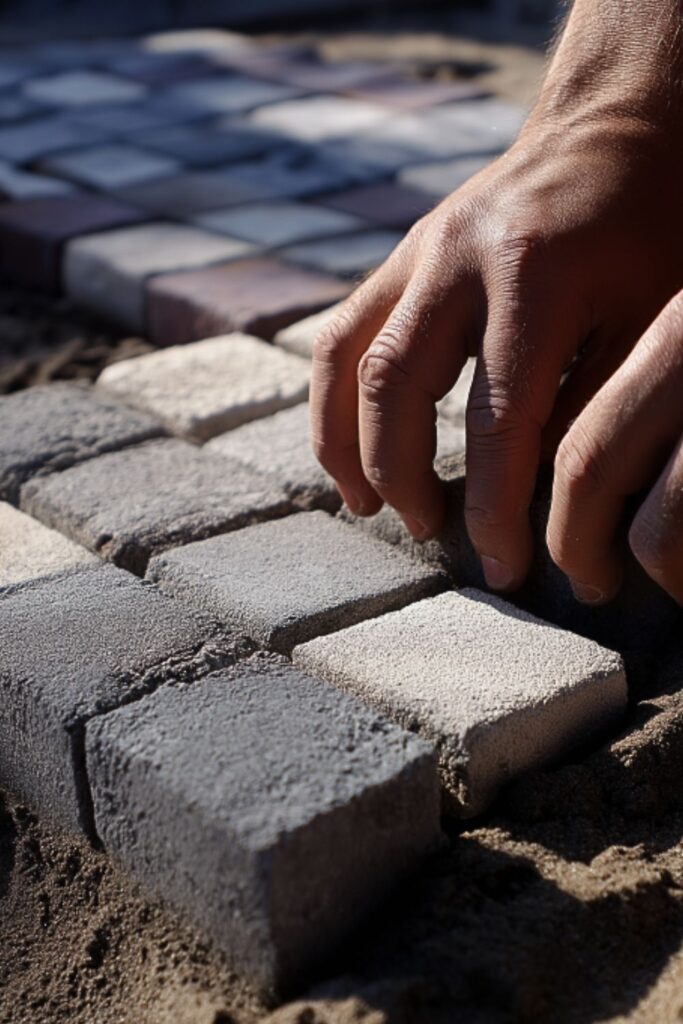
Lay the Pavers in a Consistent Pattern
Now for the rewarding part: putting your pavers into place.
Start in a Corner
Lay pavers from a corner or straight edge. This keeps your lines tight and aligned.
Maintain Spacing
Use plastic spacers or leave 1/8″–1/4″ gaps between pavers for sand and drainage.
Check Alignment
Step back every few rows and use a rubber mallet to tap pavers into place and ensure they stay level.
Cut Where Needed
Use a masonry saw or paver splitter for edge pieces. Wear protective gear and mark cuts clearly.
Paver Laying Table
| Step | Tools Needed | Notes |
|---|---|---|
| Place Pavers | Mallet, level, spacer | Work in small sections |
| Check Lines | Chalk, string line | Fix alignment before continuing |
| Cut Edges | Masonry saw or splitter | Cut last—lay full pavers first |
Lock and Finish with Polymeric Sand and Edge Restraints
Finishing the patio ensures stability and keeps weeds and movement at bay.
Sweep Polymeric Sand
Once all pavers are laid, sweep polymeric sand into the joints. It hardens when activated with water to lock pavers in place.
Use a Leaf Blower
Blow off excess sand so it doesn’t harden on paver surfaces when watered.
Mist to Activate
Gently spray the patio with a fine mist from a hose. Avoid overwatering—follow package directions.
Install Edging
Use paver edging restraints around the perimeter, securing them with landscaping spikes to prevent shifting.
Finishing Guide Table
| Step | Material/Tool | Purpose |
|---|---|---|
| Sweep Polymeric Sand | Broom, leaf blower | Locks pavers, prevents weed growth |
| Mist Water | Garden hose | Activates the binding agent |
| Install Edge Restraints | Plastic/metal edging | Holds pavers in place over time |
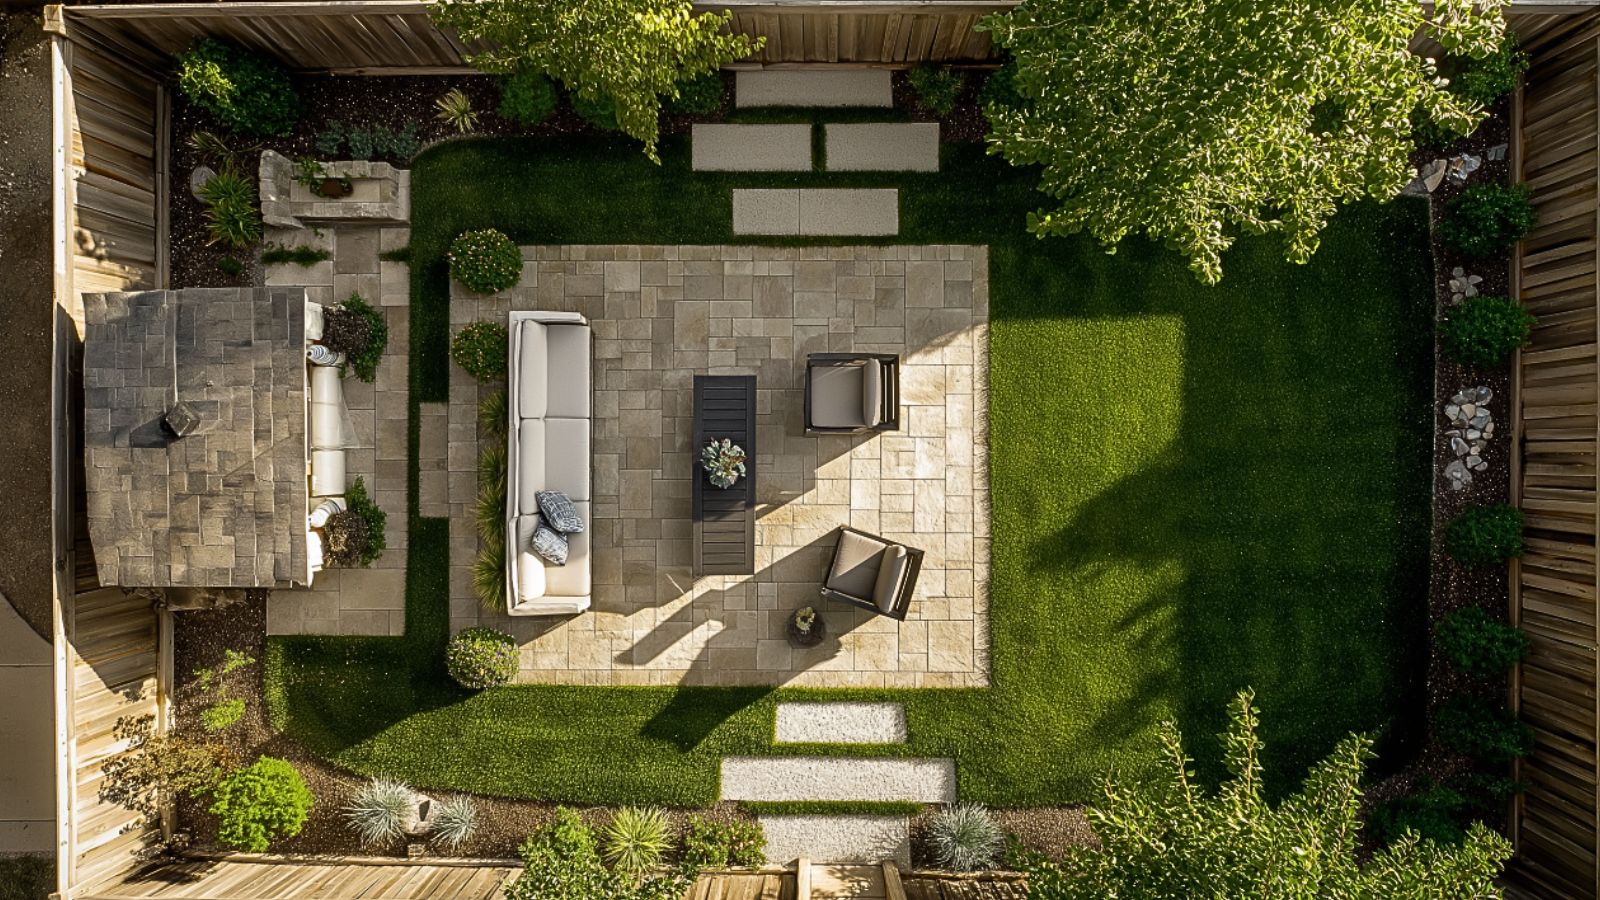
Add Furniture and Finishing Touches
Now that your patio is built, make it an inviting space.
Choose Outdoor Furniture
Opt for weatherproof materials like aluminum, teak, or wicker. Blue cushions or neutral tones contrast beautifully with pavers.
Add Plants and Lighting
Use potted plants, hanging lanterns, or string lights for ambiance. Solar lights around the edge add elegance at night.
Rugs and Accessories
Add an outdoor rug to define zones and soften the surface. Small tables and side stools complete the look.
Styling Table
| Element | Ideas | Placement |
|---|---|---|
| Seating | Loveseat + two chairs | Centered or along edges |
| Plants | Ferns, succulents, flowers | Corners, along edge, or tabletop |
| Lighting | String, solar, or path lights | Overhead or low-level for effect |
| Decor | Outdoor rug, pillows | Adds color, comfort, and visual layers |
Conclusion
In just one weekend, you can turn a blank patch of lawn into a functional and beautiful patio retreat. With thoughtful planning, the right materials, and a little effort, building your own DIY patio pavers is entirely doable. From leveling the ground to styling the finished space, each step builds a backyard feature you’ll enjoy for years.
Whether you’re hosting summer barbecues or simply enjoying your morning coffee outdoors, your new patio adds beauty, value, and charm to your home. And the best part? You did it yourself.