
Creative DIY Porch Enclosure Ideas You Can Build Yourself for a Stylish and Cozy Outdoor Retreat
Table of Contents
Imagine sipping your morning coffee on the porch while enjoying the breeze—without swatting at bugs or braving harsh winds. That’s the charm of a well-designed porch enclosure. A 2023 survey by Porch.com found that 74% of homeowners consider outdoor spaces one of the most important areas to improve, and porch enclosures are high on the list for comfort, functionality, and curb appeal.
Whether you want a serene spot for reading, a cozy nook to entertain guests, or simply a bug-free zone to enjoy sunsets, enclosing your porch is a game-changer. But you don’t need to break the bank or hire a contractor to make it happen. With some creativity, tools, and a weekend or two, you can build a porch enclosure yourself—and give your home an instant upgrade.
In this guide, you’ll discover a range of creative DIY porch enclosure ideas suited for various budgets, skill levels, and design tastes. From screened-in havens to fully insulated extensions, every project is outlined with practical steps, pros and cons, and visual guides to spark inspiration. Ready to roll up your sleeves? Let’s build your dream porch retreat.
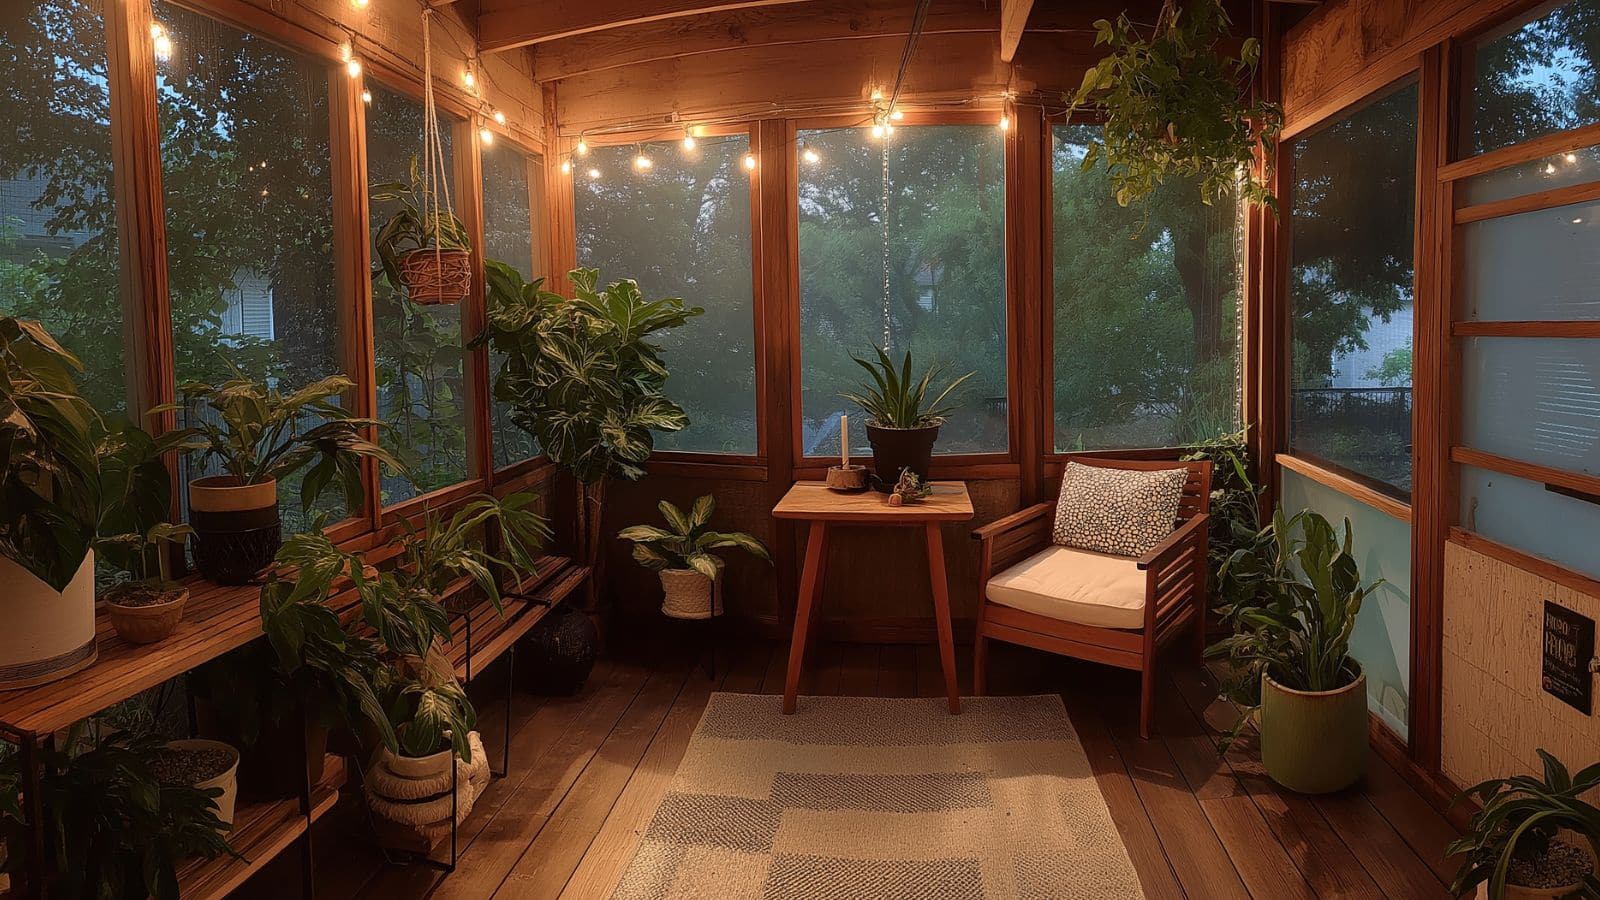
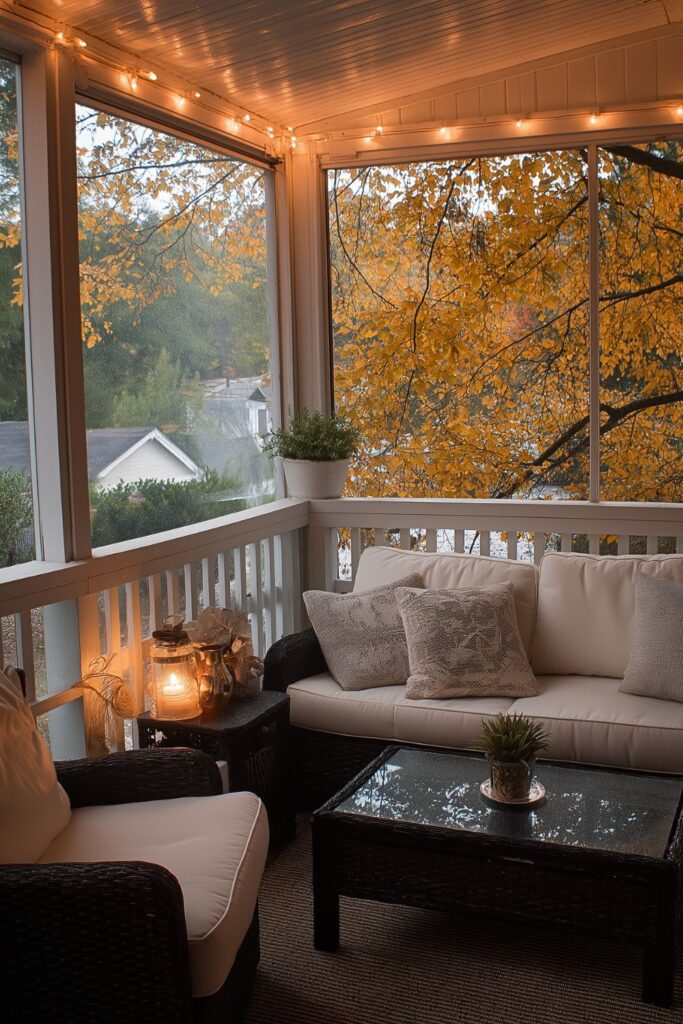
Screened-In Porch Enclosure: Keep the Breeze, Lose the Bugs
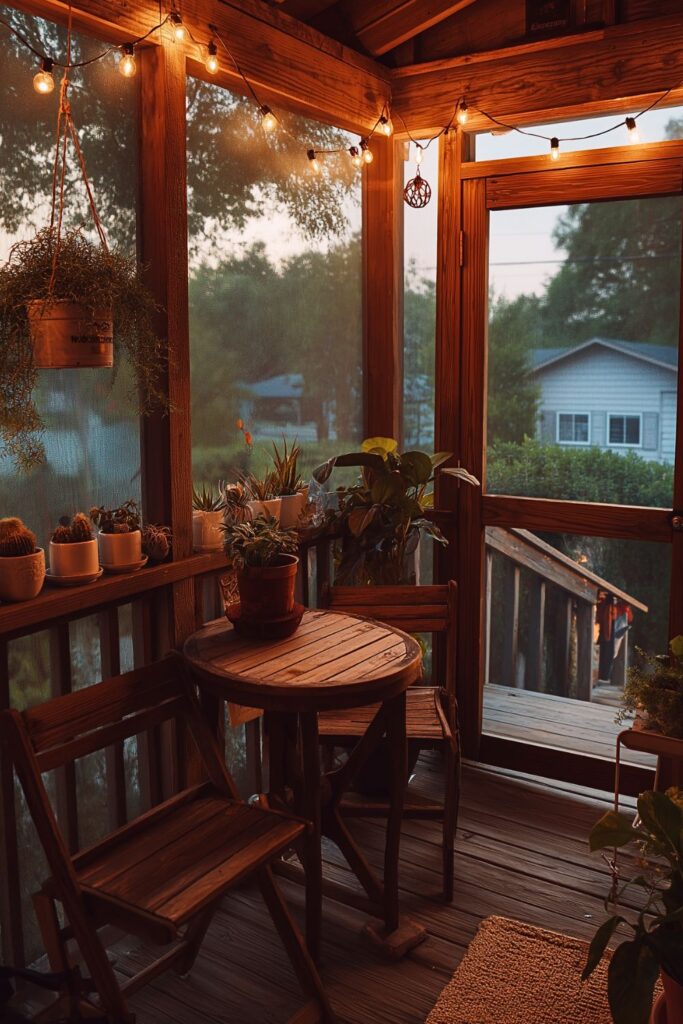
A screened-in porch is one of the most practical and approachable DIY enclosure options. It keeps out insects while letting in fresh air and natural light—perfect for enjoying your outdoor space in comfort.
How it works: You frame the porch with lightweight wood or aluminum and staple in fine mesh screen panels. With a little planning, this can be a weekend project that dramatically boosts the usability of your porch.
Step-by-Step Overview
| Step | Task |
|---|---|
| 1 | Measure the porch and determine panel placement |
| 2 | Build or attach wooden frames between support posts |
| 3 | Stretch screen tightly and staple it to frames |
| 4 | Add trim to hide staples and give a finished look |
| 5 | Optional: Install a screen door for easy access |
Advantages
Screened-in porches offer airflow and visibility, making them ideal for spring through fall. You can also enhance them with curtains, string lights, or a ceiling fan for added charm.
Potential Challenges
Screens can rip over time and may need replacing every few years, especially in harsh climates. Also, this style offers little insulation for winter use.
DIY Vinyl Window Enclosures for Seasonal Flexibility
Want to enjoy your porch even when the temperature dips? Vinyl window enclosures are a great transitional option. They block wind and retain some heat while being far more budget-friendly than glass.
How to Build It: Install clear vinyl panels with zippers or tracks over existing screens or openings. Some kits even let you roll up the panels when the weather is warm.
Vinyl Porch Enclosure Comparison
| Feature | Vinyl Panels | Glass Windows |
|---|---|---|
| Cost | Low to Medium | High |
| Installation | DIY-friendly | Often requires professional help |
| Insulation | Moderate | High |
| Flexibility | Panels can be removed or rolled | Fixed |
Design Tips
Choose marine-grade vinyl for durability and better clarity. Frame the panels with grommets or Velcro for easy removal in warmer months.
Extended Use
With vinyl, your porch becomes usable for more months out of the year—even into early winter or late fall with a space heater.
Rustic Wood and Lattice Enclosure for Charm and Privacy
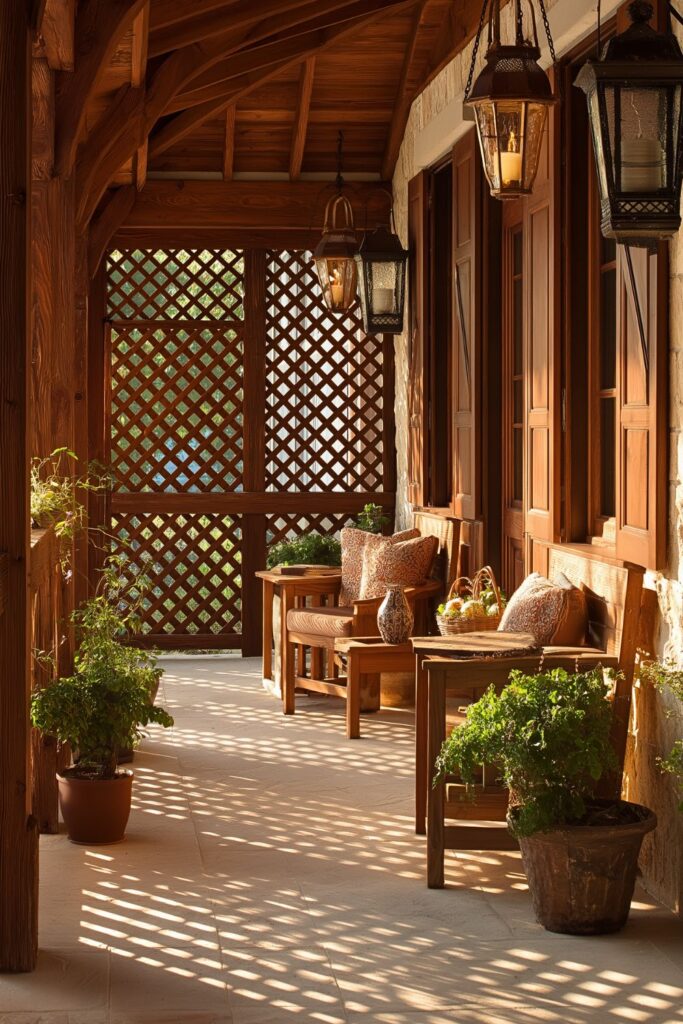
For a natural, cabin-like vibe, consider building your porch enclosure with wood and lattice panels. This is especially appealing for homeowners seeking a bit more privacy without fully closing off the space.
Build Concept: Use pressure-treated wood for the frame, then attach decorative latticework or slatted wood panels. You can add climbing vines or hanging plants for a softer, greener touch.
DIY Wood & Lattice Breakdown
| Material | Recommended Type | Notes |
|---|---|---|
| Wood | Cedar or pressure-treated pine | Weather-resistant, long-lasting |
| Lattice | Vinyl or wood | Choose based on climate and look |
| Fasteners | Galvanized nails or screws | Prevent rust in outdoor settings |
Design Options
Stain the wood for a rustic appearance, or paint it white for a farmhouse aesthetic. Mix in corner shelves for plants or lanterns to complete the look.
Pros
Adds character and partial wind protection while maintaining ventilation. Plus, it’s a weekend-friendly project for those comfortable with saws and drills.
Sliding Plexiglass Panels for a Modern, Sleek Look
If you love modern design and want year-round porch usability, consider installing sliding plexiglass panels. They’re more affordable and lightweight than glass, yet still offer solid insulation.
Installation Details
Use aluminum or PVC framing to create sliding tracks. Then cut plexiglass panels to size and install them with weather stripping for a tight seal.
Visual Breakdown of Materials
| Item | Description |
|---|---|
| Plexiglass | Lightweight, shatter-resistant, clear |
| Track System | Aluminum or plastic channel |
| Sealant | Weatherproof tape or silicone for edges |
Benefits
This system allows natural light to flood in while protecting from wind and rain. It also offers sound reduction, giving your porch a more indoor-like experience.
Challenges
Cutting plexiglass precisely takes care, and sliding tracks must be kept clean to operate smoothly. Consider adding locks or stops for safety.
Budget-Friendly Curtain Enclosures for a Soft, Romantic Feel
Sometimes, the simplest solutions are the most charming. Hanging outdoor curtains around your porch is a low-cost way to provide shade, privacy, and weather protection—all while creating a dreamy atmosphere.
What You Need:
- Weather-resistant curtains (polyester or canvas)
- Curtain rods or wire systems
- Mounting hardware (hooks, brackets)
Curtain Enclosure Setup
| Step | Action |
|---|---|
| 1 | Install rods or wire along porch perimeter |
| 2 | Hang curtains and ensure they can slide freely |
| 3 | Add tiebacks or weights to keep them in place during wind |
| 4 | Layer with sheer panels for elegance |
Creative Enhancements
Use tie-dye or striped patterns for boho vibes, or stick with white linen for an airy beach-house feel. Add fairy lights and an outdoor rug to complete the setting.
Insulated DIY Porch Conversion for Year-Round Living
For serious DIYers looking to transform their porch into a fully functional living space, insulating and finishing it as a sunroom or three-season room is the ultimate upgrade. This project is more involved, but it also adds significant value to your home.
The Process
Start by framing in the porch with wood or metal studs. Add insulation between the studs, then layer with vapor barrier and drywall or paneling. Install double-pane windows and a proper exterior door. For flooring, consider weather-resistant laminate or tile.
Essential Components Table
| Component | Details |
|---|---|
| Insulation | R-13 or higher for walls |
| Windows | Double-pane, low-E coating |
| Flooring | Moisture-resistant, insulated underlayment |
| Heating | Baseboard heater or mini-split system |
Pros
- Extends usable living space
- Comfortable in any season
- Increases resale value
Tips for Success
- Check local building codes and get permits if needed
- Use treated lumber for outdoor exposure
- Plan for electrical outlets and lighting
This kind of enclosure takes several weekends or a month to complete, but you’ll gain an extension of your home that can function as a home office, breakfast nook, or reading room—all while surrounded by windows and nature.
DIY Porch Enclosure with Retractable Screens for Versatility
Retractable screen systems offer the best of both worlds—an open porch when you want it and bug-free shelter when needed. While they can be purchased as pre-built systems, savvy DIYers can replicate the concept for much less.
How It Works
Mount spring-loaded roller screens to the top of each opening. The screen can be pulled down and hooked into a bottom track when in use, or rolled up out of sight.
Retractable Screen System Breakdown
| Element | Function |
|---|---|
| Roller Tube | Holds rolled screen when not in use |
| Side Tracks | Guides for screen edges |
| Bottom Bar | Keeps tension and locks into place |
| Screen Material | Fiberglass mesh or solar screen fabric |
DIY Build Tip
Measure each porch opening precisely, and order your materials accordingly. Use tension-adjustable tubes to ensure smooth rolling action.
Benefits
- Flexibility to enjoy both open air and screened-in comfort
- Sleek, non-permanent appearance
- Great for preserving views and airflow
Design Touches
Combine with a pergola roof or translucent canopy for rain protection. Use black mesh for minimal visual interference or solar screen fabric to reduce glare and UV exposure.
Conclusion
DIY porch enclosures don’t just expand your home—they enrich your lifestyle. From simple curtains to full insulated conversions, each idea offers its own blend of comfort, privacy, and visual charm. Whether you’re aiming for a breezy screened haven or a sun-filled year-round retreat, there’s a project that fits your style and budget. With a little elbow grease and creativity, your porch can become the most beloved room in your house—no matter the season.