
5 Easy DIY Home Projects for Beginners That Instantly Upgrade Your Space
Table of Contents
Have you ever looked around your home and thought, “I wish I could refresh this space without spending a fortune or hiring a pro”? You’re not alone. With the rise of home improvement content across social media platforms and TV shows, more people than ever are tapping into their inner handyman or craftsperson—and it’s easier than you might think. According to a recent survey, over 70% of homeowners say they’ve attempted a DIY project in the past year, with the majority citing cost savings and creativity as their top motivators.
This blog post is designed specifically for beginners who are curious about getting started with home DIY but may not know where to begin. We’ll walk you through five easy, stylish projects that require minimal tools, low-cost materials, and no prior experience. From refreshing your walls to crafting functional home accessories, these beginner-friendly ideas will leave your home looking upgraded and feeling more like you. Plus, each project comes with a visual breakdown and MidJourney image prompt to help you envision the final result.
Let’s dive into some simple, satisfying ways to make your home look and feel brand new.
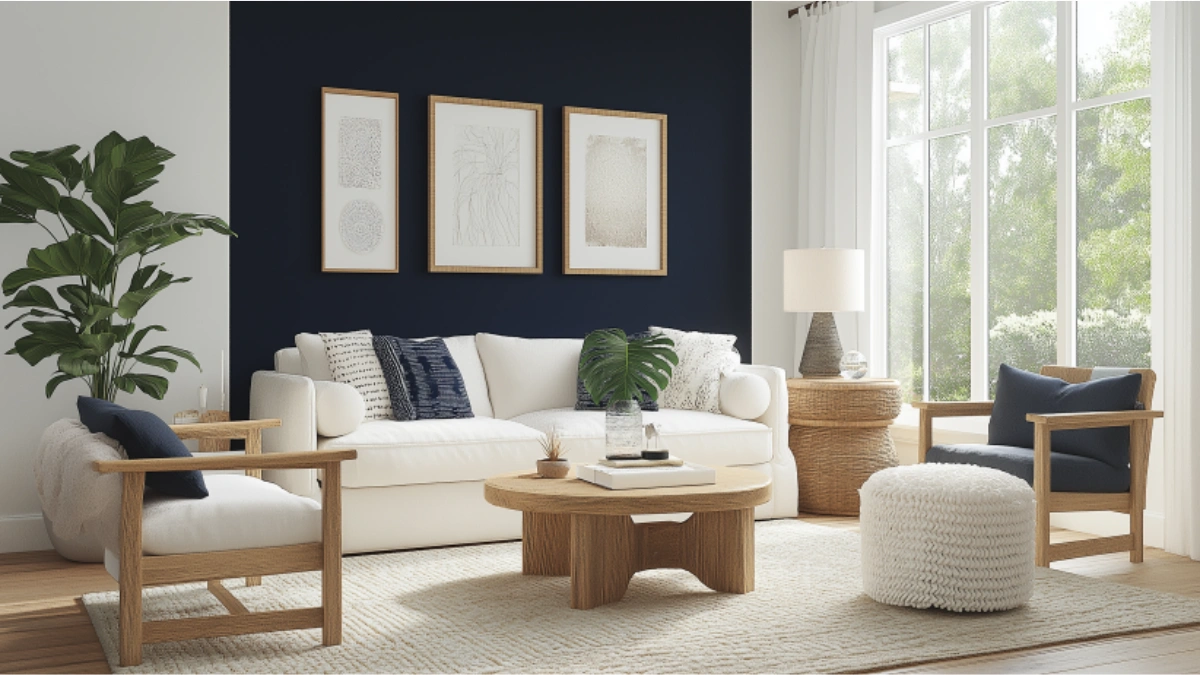
Painted Accent Wall: A Simple Splash of Personality
Adding an accent wall is one of the most impactful changes you can make with minimal effort and cost. It’s a fantastic way to introduce color, texture, or pattern into a room without overwhelming the entire space. This is especially useful for renters or anyone wary of a full-room makeover.
Choose a wall that naturally draws the eye—typically one behind a bed, sofa, or dining table. Then, pick a paint color that complements your existing decor. If you’re feeling adventurous, consider using painter’s tape to create geometric designs or opt for a color-blocked look.
Step-by-Step Overview
| Step | Task | Materials Needed |
| 1 | Select wall and clean surface | Soap, water, sponge |
| 2 | Tape off edges | Painter’s tape |
| 3 | Apply primer (optional) | Primer, paint roller |
| 4 | Paint wall | Paint, roller or brush |
| 5 | Let dry & remove tape | Patience, careful peeling |
This project typically takes just a few hours but creates a striking effect that can completely shift the mood of a space.

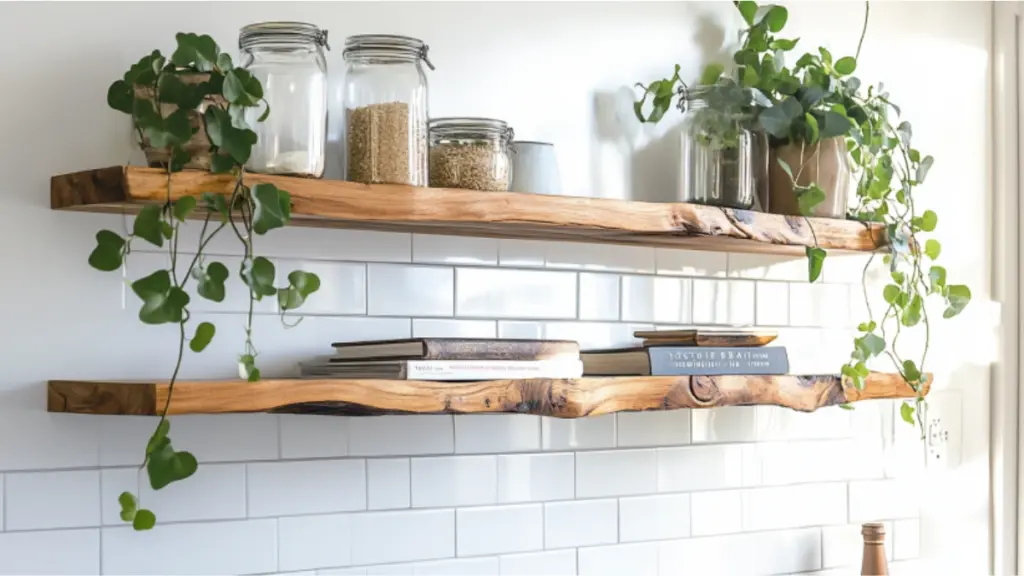
Floating Shelves for Style and Storage
Floating shelves are both functional and fashionable, making them an ideal first project for DIY beginners. They’re perfect for displaying books, plants, and art without the bulk of traditional shelving units.
Choose a blank wall in your kitchen, bathroom, or living room. Pre-made shelf kits from home improvement stores make this project even easier.
Installation Checklist
| Step | Task | Tools & Supplies |
| 1 | Measure and mark wall | Level, tape measure, pencil |
| 2 | Drill pilot holes | Drill, wall anchors |
| 3 | Attach brackets or anchors | Screws, screwdriver |
| 4 | Mount shelf | Pre-finished shelf |
Take your time with measuring and leveling—it’s key to achieving that polished, designer look.
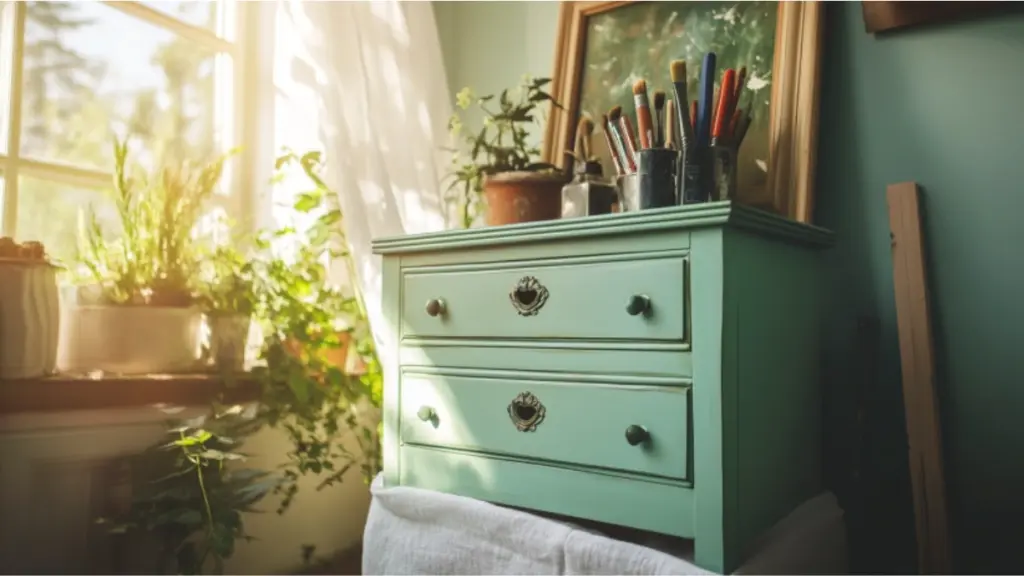
Upcycled Furniture Makeover
One of the most rewarding and eco-friendly DIY projects is giving an old piece of furniture a new life. Whether it’s a thrift store find or something collecting dust in your garage, updating furniture with paint, new hardware, or stenciling is a low-cost way to create custom decor.
Chairs, nightstands, and side tables are great beginner pieces. Sand them down, paint them in a fresh hue, and finish with a protective coat. Replace drawer knobs with trendy ones or add decals for a creative touch.
Makeover Plan
| Task | Materials Needed |
| Clean and sand surface | Sandpaper, tack cloth |
| Apply primer (optional) | Primer, brush/roller |
| Paint or stain | Furniture paint/stain |
| Finish with sealant | Polyurethane or wax finish |
| Add hardware | New knobs or handles |
This is one of the best ways to personalize your home without spending more than $50.
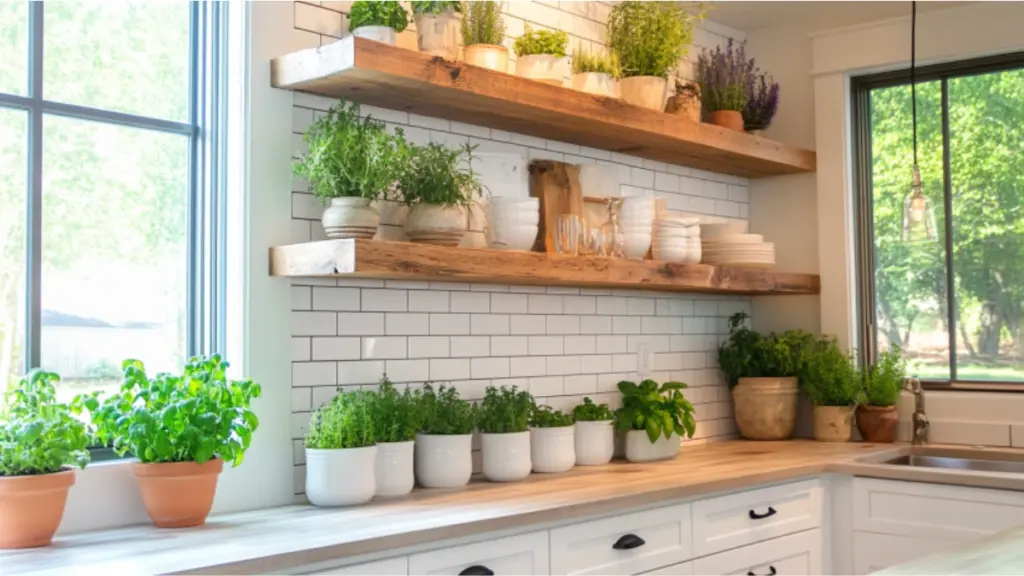
Peel-and-Stick Backsplash for Kitchens and Bathrooms
Want a big change without breaking tile or hiring a contractor? Peel-and-stick backsplashes are your answer. Available in a variety of styles like subway tile, Moroccan patterns, and faux brick, these adhesive panels can completely modernize your kitchen or bathroom.
They’re designed for beginners—simply measure, peel, and apply. Be sure to clean the wall surface thoroughly beforehand.
Application Guide
| Step | Task | Tools Needed |
| 1 | Clean wall surface | Soap, water, rag |
| 2 | Measure and cut panels | Ruler, utility knife |
| 3 | Peel off backing | Fingers, care |
| 4 | Align and stick | Patience, level |
| 5 | Press firmly to secure | Wallpaper smoothing tool |
It’s renter-friendly, removable, and takes just a couple of hours for a huge impact.
Handmade Entryway Organizer
If your entryway tends to collect clutter, this easy DIY project will help you organize shoes, keys, mail, and bags while adding charm to your home. A handmade organizer can include hooks for coats, a shelf for small storage baskets, and even a chalkboard for reminders.
This beginner project uses inexpensive wood planks or plywood, basic tools, and customizable finishes. You can stain the wood for a rustic look or paint it to match your wall color.
Project Breakdown
| Task | Materials Needed |
| Cut and sand wood pieces | Wood planks, saw, sandpaper |
| Attach coat hooks | Hooks, drill, screws |
| Mount to wall securely | Screws, wall anchors, drill |
| Add storage baskets/shelves | Wire or woven baskets, L-brackets |
| Optional chalkboard paint | Chalkboard paint, painter’s tape |
Tips:
- Use a stud finder to mount heavy components safely.
- Test the chalkboard paint in a small corner first.
- Add labels above each hook for personalization.

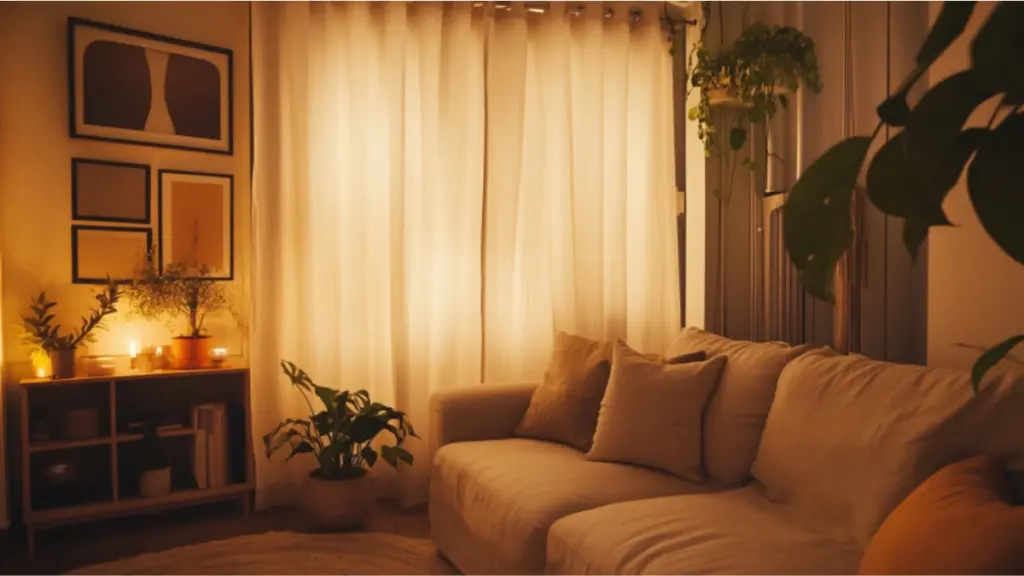
DIY No-Sew Curtains or Window Treatments
No sewing machine? No problem. You can still craft beautiful, custom window treatments using fabric glue, iron-on hem tape, or clip-on curtain rings. This project is perfect for renters or anyone wanting a weekend refresh.
Choose a fabric that compliments your decor—linen, cotton, or even drop cloth material for that farmhouse chic vibe. Measure your windows carefully to ensure the curtains will fall just right.
Curtain Creation Steps
| Step | Task | Supplies Needed |
| 1 | Choose and measure fabric | Tape measure, scissors |
| 2 | Cut fabric to desired length | Fabric scissors |
| 3 | Hem edges using iron-on tape | Iron, hem tape |
| 4 | Add clip rings or rod pocket | Clip rings or rod channel |
| 5 | Hang and style | Curtain rod, ladder |
This project takes a few hours, gives you endless style options, and costs a fraction of custom curtains.
Conclusion
Starting your DIY journey doesn’t have to be overwhelming or expensive. These five beginner-friendly projects allow you to explore creativity, improve your space, and gain confidence with simple tools and accessible materials. Whether you’re adding color with an accent wall or solving clutter with a handmade organizer, each project brings its own satisfaction and style.
With the help of clear steps, visual prompts, and real-world examples, you’re ready to tackle your next home upgrade—one easy DIY at a time.