
5 DIY Holiday Decorations for a Festive Home That Spark Seasonal Joy
Table of Contents
The holiday season is more than just a date on the calendar—it’s a feeling of warmth, nostalgia, and joyful anticipation. Whether you’re welcoming guests or simply creating a cozy retreat for your family, decorating your home plays a big part in setting the festive tone. But holiday décor doesn’t need to break the bank or rely solely on store-bought items. In fact, some of the most cherished holiday memories come from the things we craft ourselves.
DIY holiday decorations offer the perfect blend of creativity and personalization. They allow you to infuse your space with character, tradition, and charm, all while saving money and enjoying the creative process. Plus, when decorations are handcrafted, they tell a story—your story.
In this post, we’ll explore five DIY holiday decoration ideas that are not only beautiful but also practical and easy to recreate. From rustic centerpieces to whimsical garlands, these projects are designed to elevate your home’s festive ambiance. Each section includes step-by-step guidance, visual breakdowns, and aesthetic inspiration to help bring your holiday vision to life.
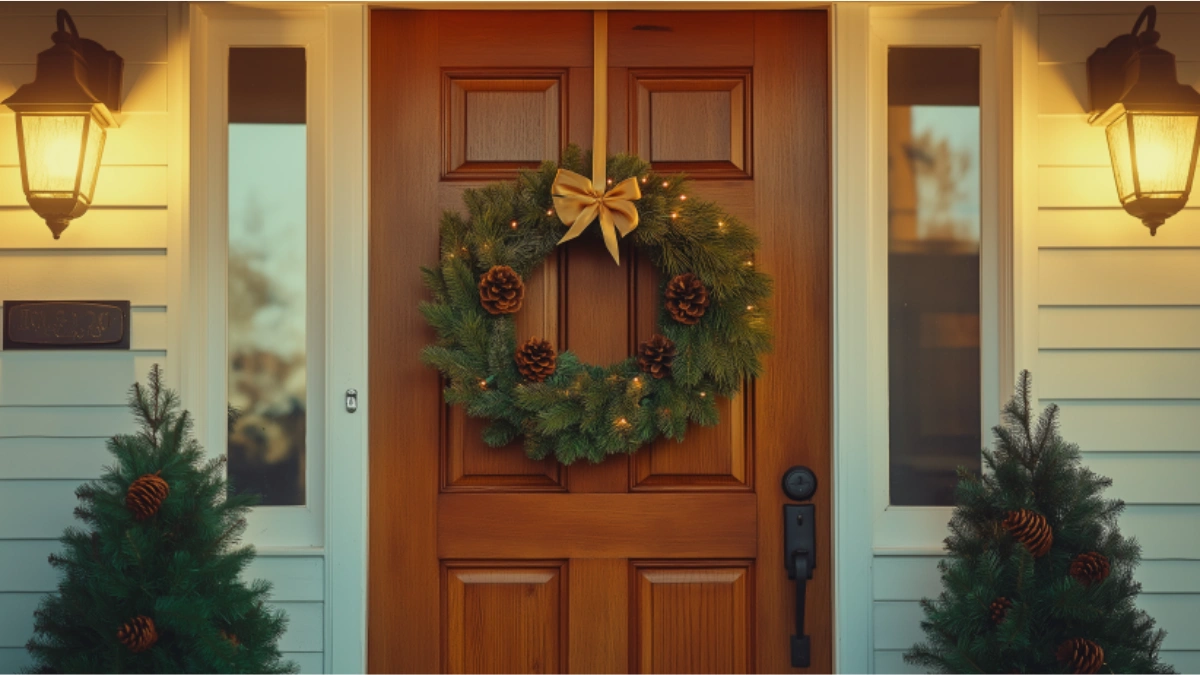
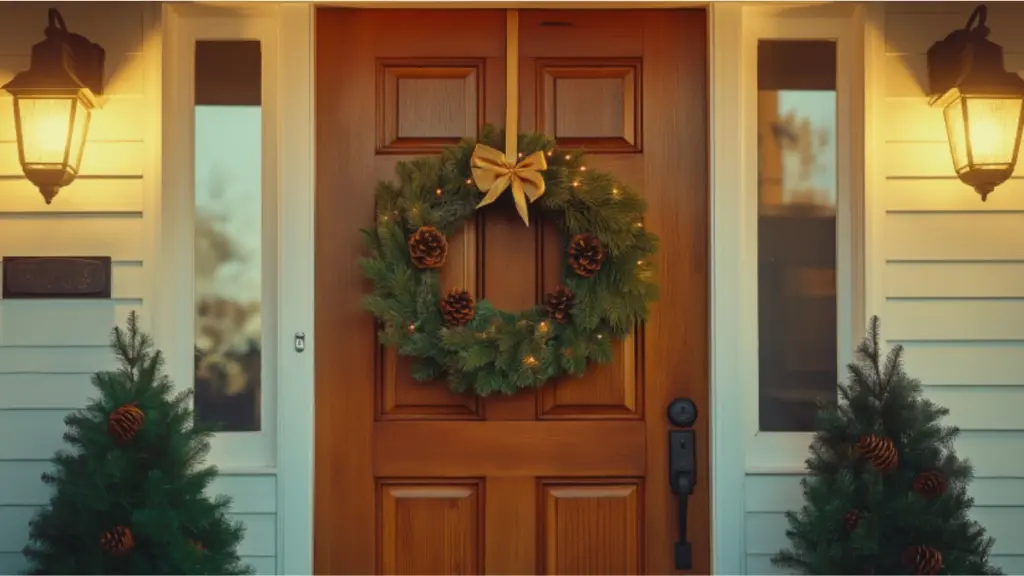
Handmade Evergreen Wreath for a Natural Touch
Wreaths are a classic symbol of the holidays, and making your own evergreen wreath adds a rustic, organic beauty that store-bought versions often lack. This decoration welcomes guests with a burst of greenery and a hint of winter fragrance right at the door.
Start with a wire or grapevine wreath base. From there, layer in fresh clippings of pine, cedar, or fir—available at most garden centers or right from your yard. Use floral wire to secure the branches, overlapping each new piece slightly to hide the stems. You can personalize your wreath with pinecones, dried orange slices, cinnamon sticks, or a velvet ribbon to suit your holiday color scheme.
Step-by-Step Breakdown
| Step | Materials Needed | Action |
| 1 | Wire or grapevine wreath | Select base structure |
| 2 | Fresh evergreen branches | Trim into manageable sizes |
| 3 | Floral wire or hot glue gun | Secure greenery in layered formation |
| 4 | Pinecones, ribbon, accents | Add decorative elements |
| 5 | Hook or ribbon | Hang on your front door or above the mantle |
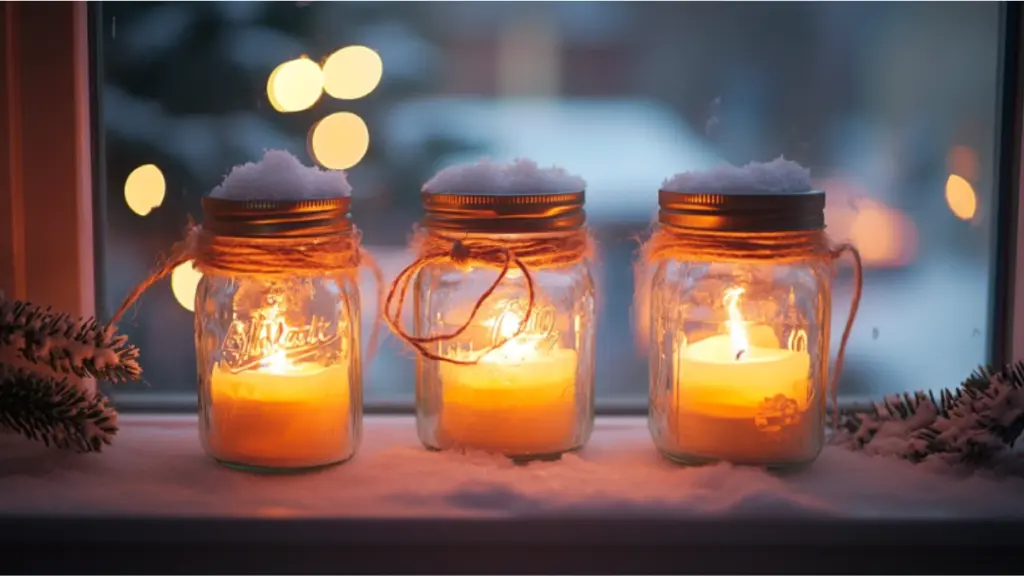
Festive Mason Jar Candle Lanterns
Mason jars are incredibly versatile, and during the holidays they can be transformed into charming lanterns that add a magical glow to any surface. Whether lining your front steps, accenting your fireplace mantle, or used as a centerpiece, these DIY lanterns bring warmth and elegance.
Start with clean jars of various sizes. Fill the bottom with Epsom salt for a snowy effect, then nestle a tealight or small LED candle inside. Decorate the rim with twine, miniature ornaments, or small sprigs of greenery. You can even stencil holiday shapes on the glass with frosted spray paint for an ethereal wintery effect.
Visual Guide to Design Elements
| Element | Creative Options |
| Jar Size | Use a mix of small and wide-mouth jars |
| Fill Base | Epsom salt, faux snow, or small pebbles |
| Candle Type | Tealight, LED flicker, scented votive |
| Rim Decoration | Twine, lace, jingle bells, mini pinecones |
| Glass Effect | Frost spray or snowflake decals |
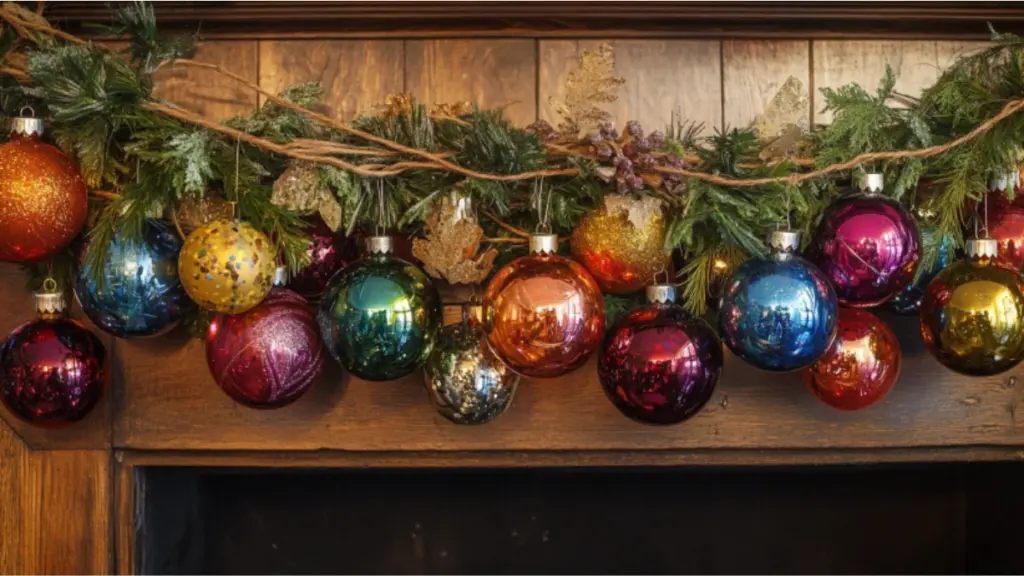
DIY Ornament Garland for Mantels or Railings
Nothing feels quite as festive as a garland stretched along the banister or draped across the mantle. A DIY ornament garland adds sparkle and texture to your home and is completely customizable to fit your color scheme and style.
Use a length of sturdy twine or ribbon as the base. Gather ornaments in various shapes, sizes, and finishes—classic red and gold for a traditional look, or pastels and metallics for something more modern. Tie or hook the ornaments along the length of the garland, spacing them out evenly. You can also weave in artificial greenery or fairy lights for added charm.
Design Table: Ornament Garland Assembly
| Garland Base | Decorative Elements | Additional Features |
| Twine, ribbon | Assorted ornaments | Faux greenery, bells |
| Fishing line | Beads or mini snowflakes | Twinkle lights |
| Burlap rope | Clothespins with mini photos | Cinnamon sticks or bows |
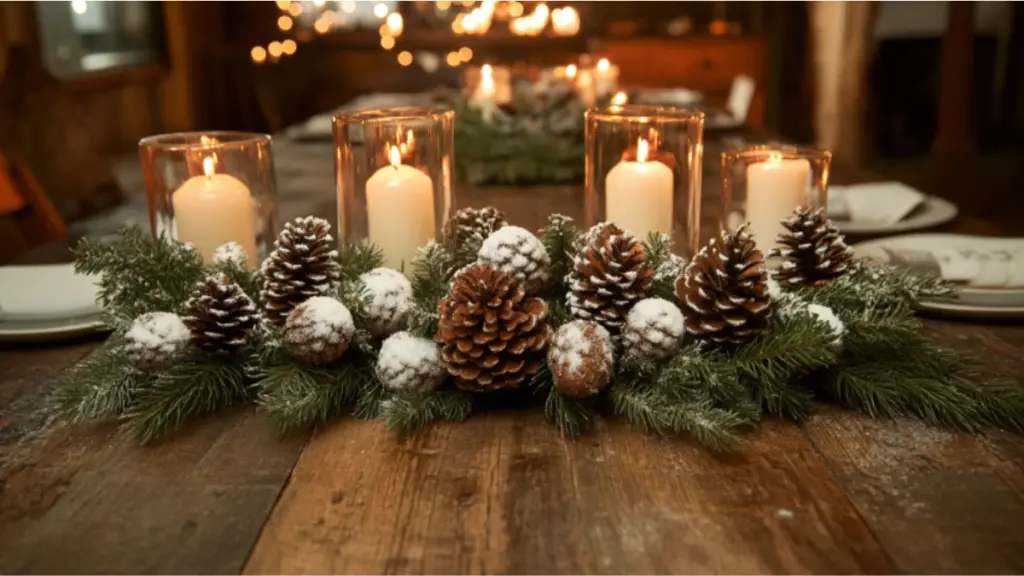
Snowy Pinecone Centerpiece
If you’re looking to create an affordable yet elegant table display, pinecones are your best friend. Easy to source and endlessly customizable, pinecones provide the perfect base for a wintery centerpiece.
Start by gathering pinecones from your yard or purchasing them from a craft store. To create a snowy effect, dip the tips in white acrylic paint or use a spray-on snow product. Arrange them in a shallow wooden tray or bowl alongside sprigs of evergreen, faux berries, and a few pillar candles for height and glow.
Not only does this piece bring the forest indoors, but it also adds layers of texture and warmth to your dining or coffee table.
Centerpiece Styling
| Material | Use Case |
| Pinecones | Base of the display |
| Acrylic white paint | Snow-dipped effect |
| Faux holly berries | Pops of festive red |
| Greenery (real or faux) | Fillers and natural texture |
| Candle accents | Soft light and visual balance |
Pro Tips:
- Mix in natural and artificial materials for longevity and fragrance.
- Group items in odd numbers for visual interest.
- Anchor the centerpiece with a neutral base (like burlap or a wooden board).
Holiday Wall Art with Fabric or Wrapping Paper
Give your walls a seasonal refresh with an easy DIY art project using items you already have. Fabric scraps or festive wrapping paper can become eye-catching wall pieces with minimal effort.
To start, repurpose old photo frames or canvas boards. Cut the fabric or paper to size and secure it behind the glass or over the canvas with adhesive spray. Choose patterns that evoke holiday cheer—think plaid, snowflakes, or metallic accents. Group three or more frames for a gallery wall effect, or hang a single oversized piece above a console or mantel.
This project is particularly great for renters or those who love to switch things up seasonally, as it’s non-permanent and totally reversible.
Visual Styling Layout
| Base Item | Material Used | Design Style |
| Picture frame | Wrapping paper or holiday fabric | Modern or classic |
| Canvas board | Upholstery scraps | Vintage or minimal |
| Adhesive tools | Spray glue, staples | Quick setup |
| Display style | Grid layout or staggered trio | Flexible for any wall |
Creative Tips:
- Stick to a cohesive palette for visual harmony.
- Layer metallics for a luxe holiday feel.
- Swap the prints out each season for fresh looks.

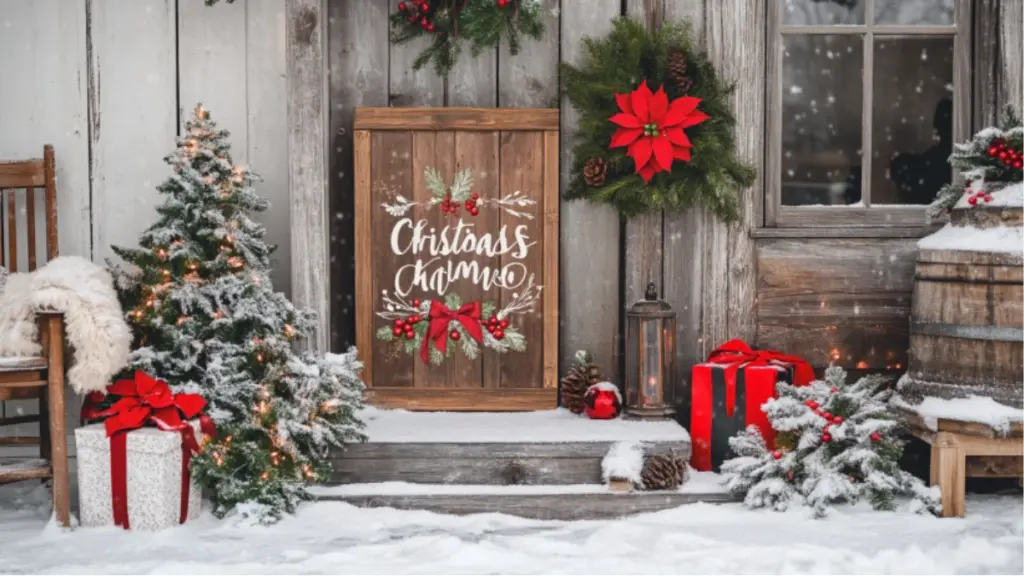
Rustic Wooden Sign with Holiday Quotes
One of the most personal and cozy DIY decorations you can create is a handmade wooden sign. Whether you choose a classic holiday phrase like “Let It Snow” or something more sentimental, these signs add a farmhouse touch to any room.
Start with a small wooden board—reclaimed wood works wonderfully. Paint the background in a color that matches your decor, then stencil your quote using acrylic paint or vinyl cutouts. Add small accents like stars, holly leaves, or snowflakes. Once dry, display the sign on a shelf, entry table, or front porch.
Wood Sign Inspiration
| Base Wood Type | Quote Ideas | Design Accents |
| Reclaimed wood | “Merry & Bright” | Stenciled stars |
| Pallet boards | “Joy to the World” | Faux snow dusting |
| Plywood slab | “Home for the Holidays” | Mini wreath embellishments |
Conclusion
Creating a festive home doesn’t have to mean splurging on store-bought decorations. With a little creativity, a touch of holiday spirit, and some simple materials, you can transform everyday items into meaningful, personalized décor. These five DIY holiday decorations—from glowing lanterns and rustic signs to snowy pinecones and ornament garlands—invite warmth, nostalgia, and charm into your space.
The joy of the holidays is often found in the details—the textures, scents, lights, and handmade touches that make your home feel truly yours. Whether you’re crafting solo or turning these into family traditions, these DIY ideas bring the festive season to life with style and heart.