
Last-Minute Halloween Crafts for Spooky Decor
Table of Contents
Halloween tends to sneak up on us. One day it’s pumpkin spice season, and the next—you’re scrambling to make your home look festive before trick-or-treaters show up. The good news? You don’t need weeks of prep time or a hefty budget to pull off impressive Halloween decor. With a few clever, last-minute Halloween crafts, you can turn your space into a spooky spectacle with ease.
This blog is your go-to guide for Halloween decorations that are quick, creative, and wonderfully eerie. From eerie floating ghosts to candlelit mason jar lanterns, we’ll show you how to bring Halloween to life using supplies you probably already have at home. Whether you’re decorating for a party or just want to get into the seasonal spirit, these DIY ideas will help you embrace the thrill of Halloween—without the stress.
Expect detailed craft guides, visual breakdowns for each project, and image prompts to inspire your creativity. Let’s get crafting—there’s still time to make this Halloween one to remember.
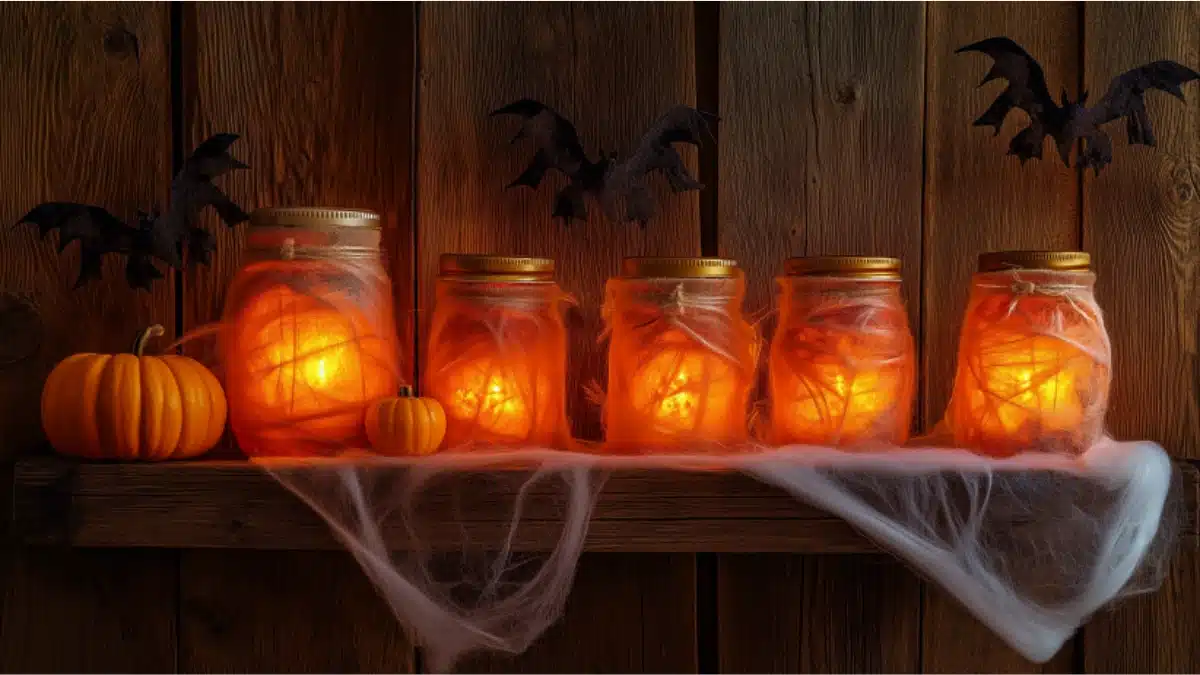
Ghostly Mason Jar Lanterns: A Glowing Last-Minute Hit
One of the easiest yet most atmospheric crafts for Halloween is the ghostly mason jar lantern. These glowing jars add an eerie touch to mantels, porches, or window sills.
Start with clean mason jars, white tissue paper or gauze, and flameless LED tea lights. Wrap the tissue or gauze around the jars to create a faded ghost-like exterior. Add eyes using black paper or a marker. Drop in a tea light, and you’ve got an instant spooky glow.
What makes this craft so effective is how customizable it is. You can vary the ghost faces—some cute, some scary. You can also add a bit of glitter spray for a ghostly shimmer or use colored LED lights for a modern Halloween twist.
Quick Steps to Make Ghostly Mason Jar Lanterns
| Materials Needed | Steps |
| Mason jars | Clean and dry each jar completely |
| White gauze or tissue | Wrap around the jar like ghost fabric |
| Black paper or marker | Create eyes and mouth |
| LED tea light | Place inside for safe glowing effect |

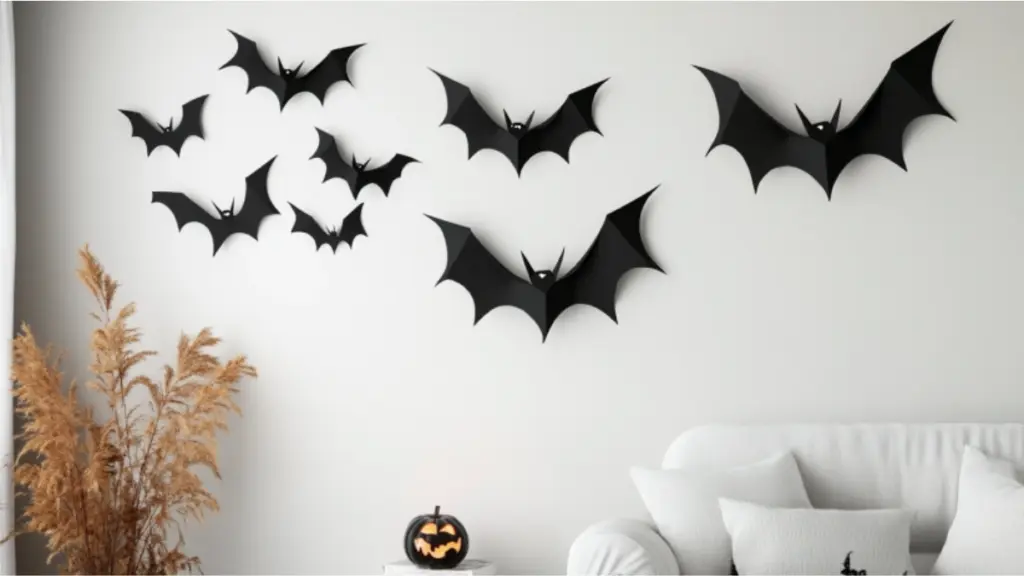
Paper Bats That Take Flight on Your Walls
Paper bats are a classic DIY that packs a spooky punch. With just black construction paper and tape, you can create an entire colony of bats that appear to be flying across your walls or ceilings.
Start by printing out or sketching a simple bat template. Fold the black paper, cut out bat shapes, then slightly fold the wings for a 3D effect. Use double-sided tape to stick them in swooping patterns on staircases, above doorways, or trailing across a wall.
This simple craft creates high visual impact, especially when paired with other minimalistic Halloween decor like monochrome pumpkins or candle clusters.
Where to Place Paper Bats for Best Effect
| Location | Effect |
| Stairwell walls | Creates movement and direction |
| Hallway entrance | Adds instant drama when guests arrive |
| Behind the couch or bed | Frames the space with Halloween flair |
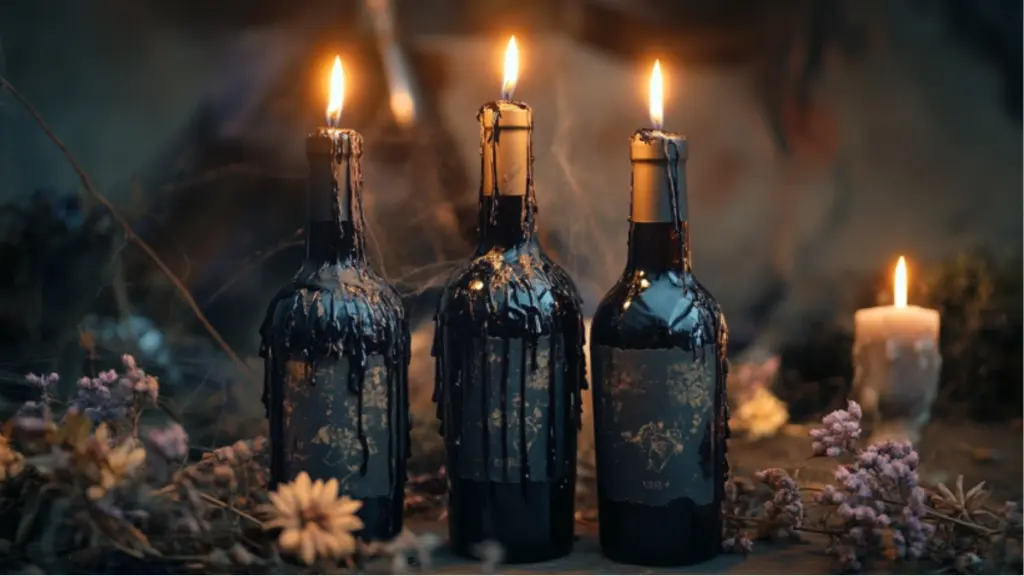
Spooky Candle Drip Bottles for a Gothic Touch
Old wine bottles can become spooky centerpieces with just a bit of wax. This last-minute Halloween craft looks complex but takes under 15 minutes to complete.
Start with empty bottles (wine, olive oil, or soda bottles work well). Insert black or red taper candles. Let them burn for a few minutes until they drip down the bottle. The melting wax gives a haunted, gothic appearance that’s perfect for table settings or entryways.
Place your finished candle bottles on a silver tray, surround with fake cobwebs or dried leaves, and you have an instant Halloween statement piece.
Candle Drip Bottle Craft Tips
| Tip | Why It Helps |
| Use bottles of varying heights | Adds visual interest |
| Layer with cobwebs or dried florals | Enhances the vintage gothic vibe |
| Use unscented candles | Keeps the focus on visuals |
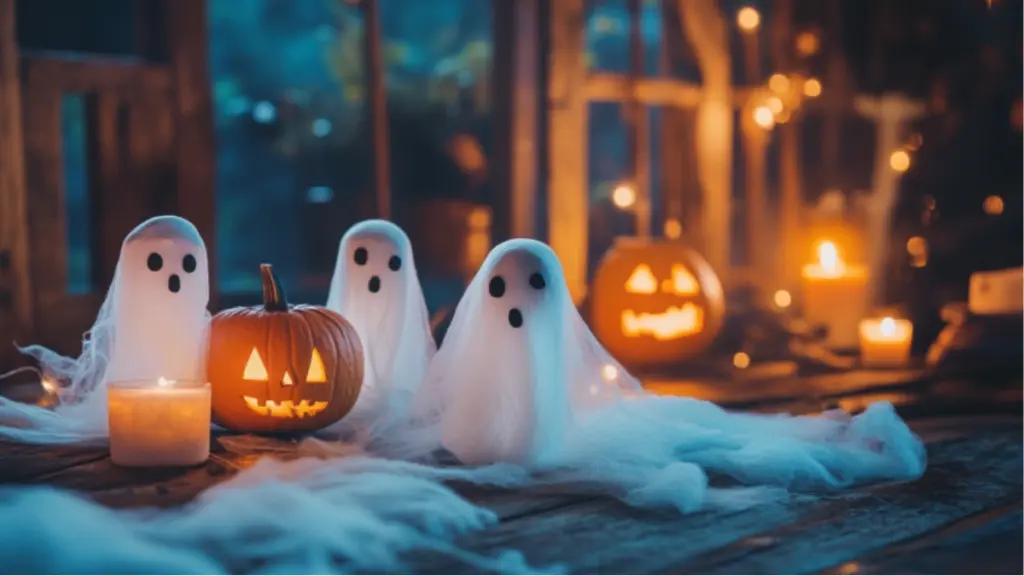
Floating Cheesecloth Ghosts That Wow
Few things say Halloween like a hovering ghost. Fortunately, you don’t need to be a professional crafter to make this eerie illusion work in your own home.
To create floating ghosts, you’ll need cheesecloth, fabric stiffener or starch, a balloon, and a base (like a bottle or cup). Drape the cheesecloth over the balloon set atop the bottle, then spray with the stiffener. Once dry, you remove the inner structure and are left with a standing ghost! Add black felt eyes and place them on shelves, mantels, or even outdoors under cover.
These crafts are not only fun to make with kids but also incredibly photogenic. Their wispy texture catches light beautifully, and you can even add string to hang them as floating apparitions from ceilings or trees.
How to Make Floating Cheesecloth Ghosts
| Step | Description |
| Inflate balloon | This becomes the ghost’s head |
| Build support base | Use a bottle or jar to lift the balloon off the ground |
| Drape cheesecloth | Cover the balloon and base with 2–3 layers of cheesecloth |
| Spray stiffener | Saturate the cloth and let dry for 12–24 hours |
| Add eyes and remove form | Stick on black eyes and carefully lift off the base |
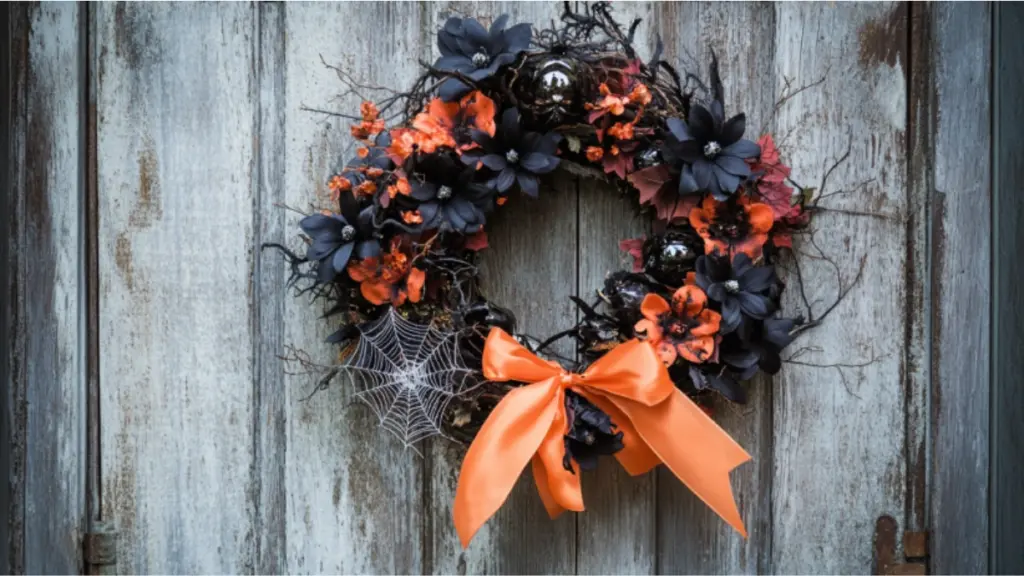
DIY Halloween Wreaths Made in Minutes
A last-minute wreath may sound like a contradiction, but with a wire hoop and some clever additions, you can whip up a dramatic Halloween wreath in under 30 minutes.
Start with a plain wire or grapevine wreath base. Add elements like faux black roses, mini plastic skulls, orange ribbon, and dried branches. Secure everything with hot glue or floral wire. The look is spooky-chic and instantly elevates your front door or mantel.
Go minimalist with just a black ribbon and spider webbing for a sleek vibe, or go maximalist with all the classic Halloween symbols. Either way, these wreaths provide serious impact for minimal time.
Last-Minute Halloween Wreath Elements
| Item | Why It Works |
| Black faux florals | Gothic and dramatic |
| Orange ribbon | Adds a festive pop of Halloween color |
| Small plastic skeletons | Classic spooky symbol |
| Spiderweb or gauze | Adds texture and mystery |
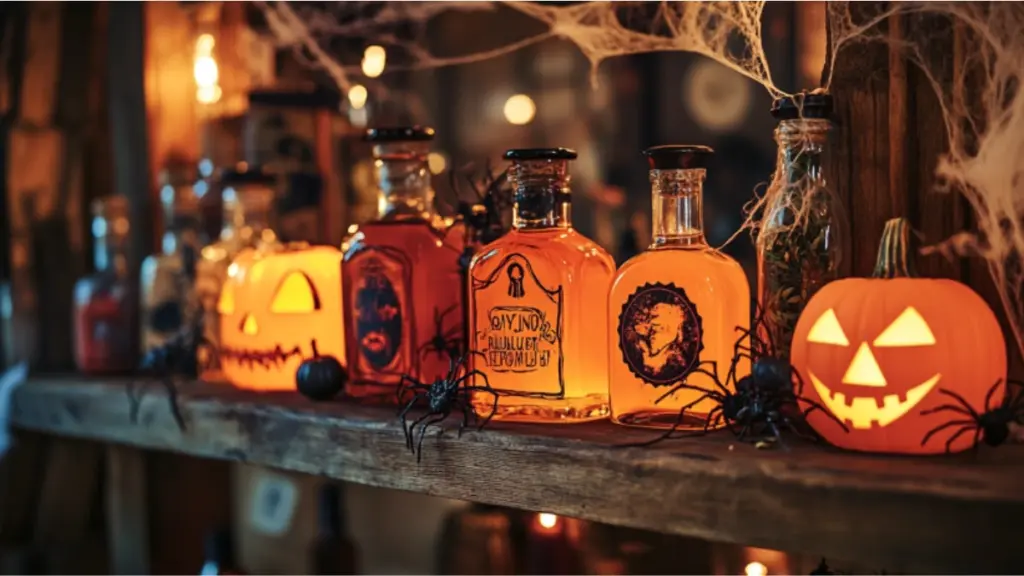
Creepy Potion Bottles for Shelves and Tables
Turn ordinary jars into eerie potion bottles using labels, food coloring, and some imagination. Simply wash and dry small bottles, then fill them with colored water (green, red, or purple), glitter, and other spooky elements like plastic spiders or floating beads.
Print or handwrite labels that read “Witch’s Brew,” “Spider Venom,” or “Zombie Elixir.” Tie them on with twine, and you’ve got an instant spooky shelf filler that works great in kitchens or bathroom counters during Halloween week.
Potion Label Name Ideas
| Potion Name | Color Suggestion |
| Witch’s Brew | Bright green |
| Vampire’s Blood | Deep red |
| Ghost Mist | Soft white with glitter |
| Spider Venom | Black with floating beads |
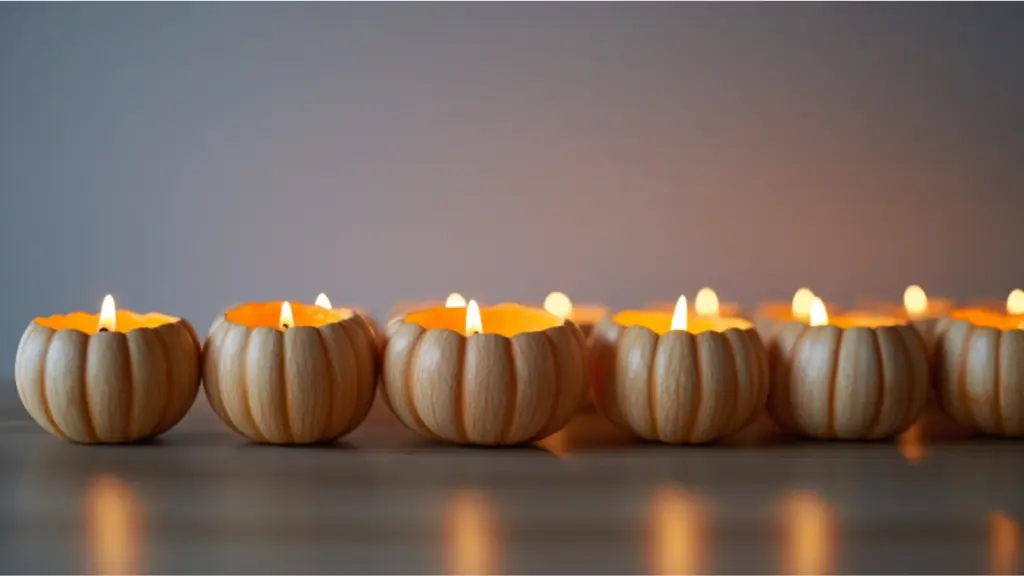
Candlelit Pumpkin Bowls for a Subtle Glow
Instead of carving jack-o’-lanterns, hollow out mini pumpkins and insert tealights or LED candles. These make for safer and faster glowing decor pieces that still bring the Halloween vibe.
Place them in clusters along stairways, windows, or dinner tables. You can even add cloves or cinnamon to the inner flesh to give off a subtle autumn scent when warmed.
Pumpkin Candle Bowl Variations
| Variation | Add-On Ideas |
| Classic orange mini pumpkins | Gold leaf on the rim for elegance |
| White ghost pumpkins | Black lace ribbon for gothic look |
| Gourds and squashes | Mix for visual variety and color |
Conclusion
Creating a festive Halloween atmosphere doesn’t require days of prep or expensive decor. These last-minute Halloween crafts offer quick solutions that still deliver high-impact results. Whether you’re crafting glowing ghosts, spooky wreaths, or simple candle displays, each idea brings seasonal spirit into your home in just a matter of minutes.
Halloween should be fun, not frantic—and with these ideas, your space can be both spooky and stylish in no time.